Today is my birthday! I love my birthday. It has always been my very favorite day of the year. So in honor of my birthday I am writing a short post, rather than my super long posts. It is also the opening day of my CSA and I can't wait to find out what they have for us! So this is very much on my mind.
The average American refrigerator has two small drawers for fruits and vegetables. If you are really going to live and eat properly, there is never enough room for a week's worth of groceries. Not everyone has time to shop 3 times a weeks like we really should for fresh food. So rather than get all processed foods so that they stay fresh, use the following few tips to keep produce fresh.
Keep cruciferous vegetables in the drawers. That's things like carrots and broccoli and radishes. They really need to be in the drawer.
If you have large heads of greens that are too long to fit in the drawers, I do one of two things. I either a) chop them up and store them in a large zipper bag with a folded up damp paper towel to regulate moisture or b) leave them whole and keep them in a clean plastic grocery bag on the shelf, not the crisper. Of course everything is better in the crisper, but space is limited. The above works for heavy greens like kale and bok choy, but also for tender greens like baby spinach. You can use tupperware too for the chopped greens if you are environmentally conscious (I am getting there, but I have miles to go before I sleep).
String beans and peas can live in tupperware on the shelf with really no prep.
Onions, potatoes, garlic, bananas, mangoes can all live outside the refrigerator.
I have heard several folks say to keep tomatoes outside the fridge. I have found you can do this for a day or two, but they really turn if left out too long. In the summertime I keep them in a bowl in the fridge. But CSA tomatoes have a very very short life in my house.
Of course, shopping at farmer's markets helps too. Find the area grocery store with the highest turnover in veggies and you'll get a few extra days out of them! And that's all she wrote! Have a great day!


7 Juni 2010
www.localharvest.org
The weather here in the northeast has been so warm this spring, that it seems that everything has begun to grow early. One of the surefire signs that summer is here is the opening day of my CSA, or community supported agriculture.
CSAs are becoming more and more mainstream, and I have started to hear of CSAs available all over the city, in Long Island and Connecticut. Those are just some of my friends who have started to join. CSAs are available across the country these days.
But what is a CSA? A Community Supported Agriculture is a group of people who come together as a group and essentially buy shares of a local farm. For a seasonal fee paid in the early spring, shareholders will receive a weekly delivery of seasonal produce or fruit or even eggs. The produce is made up of what's available and in season. This ensures that you have the very best at the peak of it's life.
But isn't it a bummer to fork over a few hundred dollars for vegetables in late March? While the cost of joining a CSA may be pricey at the time of payment (prices vary widely), paying for the season in entirety helps the farmer pay for necessary upfront expenses like seeds and equipment and labor costs. The influx of capital in spring means that farm won't have to resort to bank loans or dept in order to bring it's produce to market. And if the CSA's member roster is full, it also ensures that everything will be sold. This is a much better scenario than the go into debt in March and hope to pay it back in July scenario that many family farms face each year. So many of us work on salary, or own a business whose doors are open every day of the year, that we don't always understand the income/ outgo that farmers face on a seasonal basis.
But, doesn't joining a CSA mean that I can't choose my own vegetables? Yes, that is what it means. You won't see carrots in a CSA share in early June here in the Northeast, because the carrot plant needs more time to grow and mature than say kale or bok choy. But what I have grown to appreciate about my CSA is that I eat seasonally. I have my fill of different dishes at different times of the season. Kale and Sausage soup or Stir Fried Bok Choy and Noodles in June, Tomato and Eggplant Casserole or Corn Pudding in August, and Roasted Acorn Squash or the most amazing Mashed Potatoes ever in October. You do have to be more creative sometimes in combinations throughout the season. But the pay off is well worth it. My family looks forward to the CSA each year because it gets us out of our food rut. The variety and surpise of the contents of the share each week keeps us interested. I still have to buy onions or carrots grown out of state most weeks from the supermarket just to flesh out what my picky kid eats. But during the summer we have developed a different list of favorite recipes, all because that first year we committed to trying new things.
How do I find a CSA? I found my CSA through word of mouth. But I live in a neighborhood where you are outside a lot in community places like playgrounds and parks. In the suburbs it can be a lot harder to hear what's going on in your neighborhood. A great resource for finding CSAs, farmer's markets and other things farm related is www.localharvest.org This website is comprehensive and easy to use. You can find thousands of farmer's markets across the country and CSAs also. So many people I speak to would love to eat more veggies, but the organic ones at the grocery stores go bad so fast. With so much time being committed to jobs and life commitments. Who has time to shop every day. We aren't going to change that problem without overhauling the whole American way of life and I don't see that happening anytime soon. Buying local means that items stay fresh longer because you buy them just after they've been picked. When you buy produce picked in California, it takes them at least a day to process it into packaging and then 5 days to truck it to New York. And who says you are buying it the day it's off loaded from the truck? Those carrots might have been sitting there for 4 days before you got them. No wonder they go bad.
I highly recommend buying more from farmer's markets and joining a CSA. www.localharvest.org makes it much easier to connect to local options. But one of the unexpected benefits of joining my local CSA was making friends in my neighborhood who shared my passion to local, organic and seasonal eating. It has been a community experience in the truest sense.
5 Juni 2010
How to Make Yogurt at Home
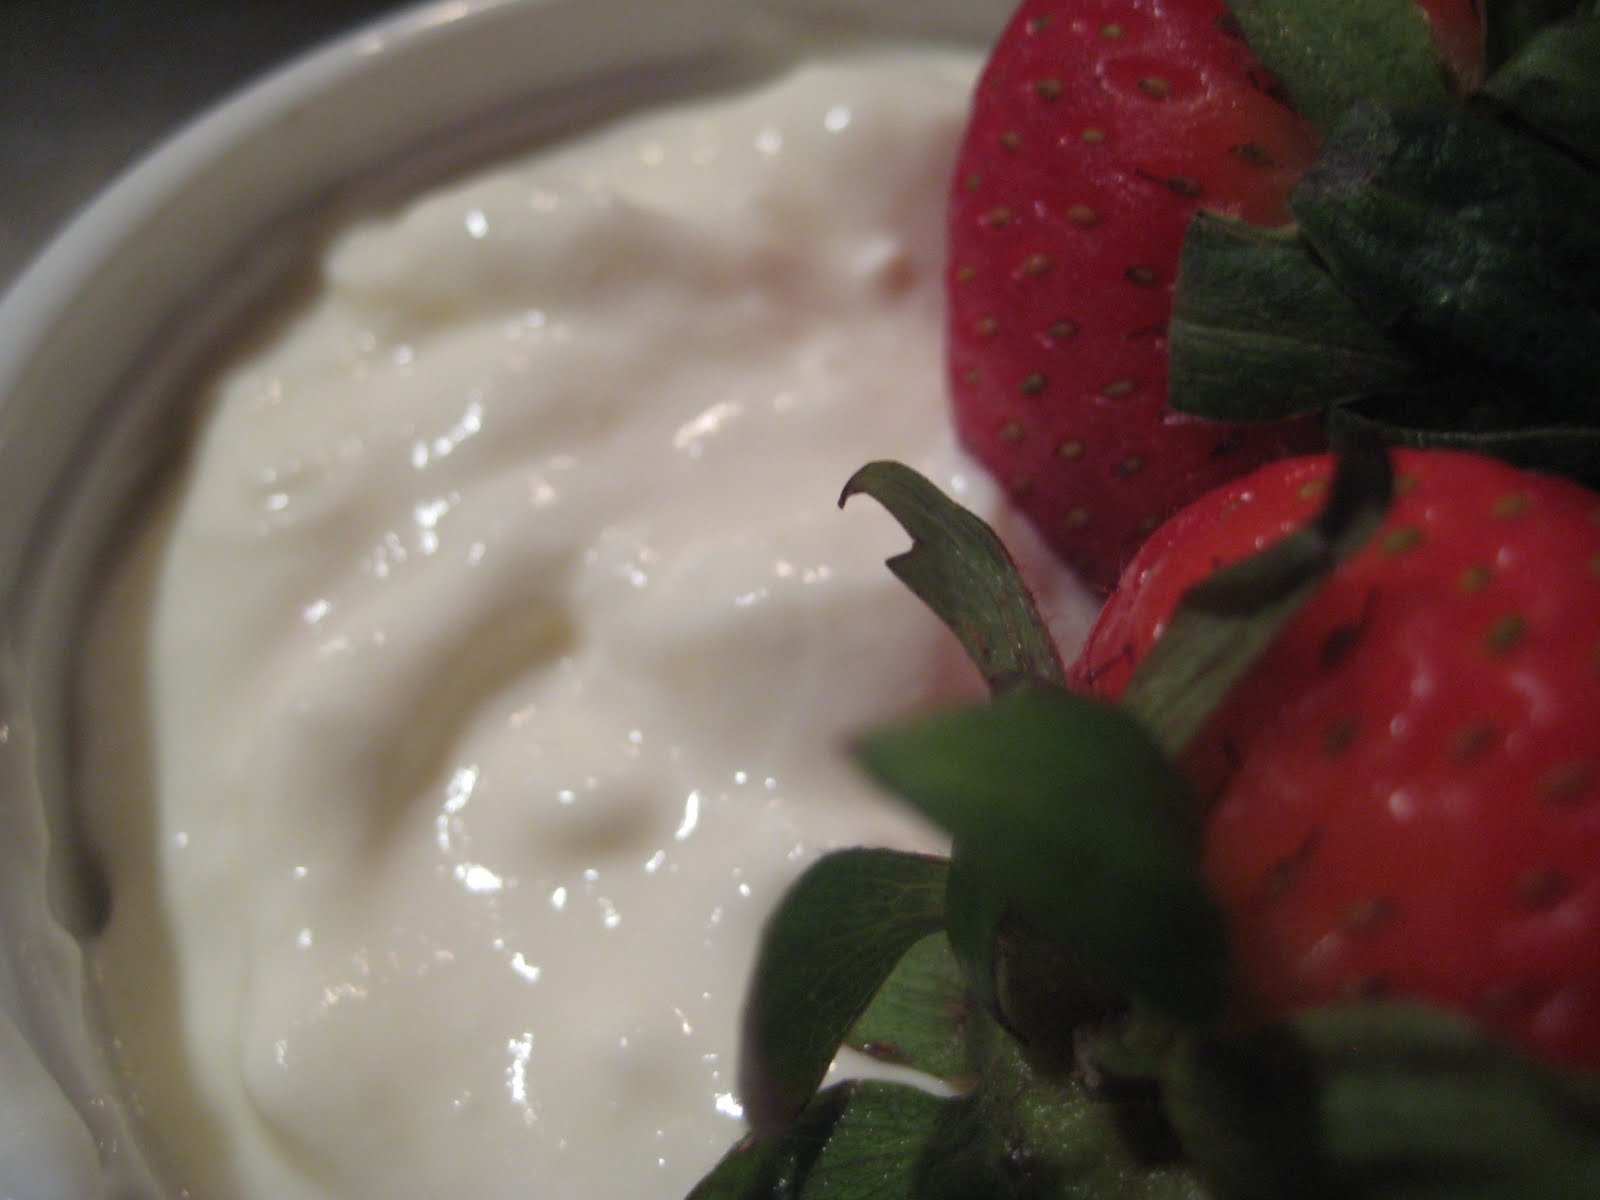
So I bought all this extra milk from the farmer's market last weekend because I bought that cheese making kit a couple of weeks ago. I had meant to make the cheese over the holiday weekend. But we ended up going away, and wasted a lot of the time we were at home by loafing around. And it's too busy during the week to make cheese in the evening. I also really wanted Thing 1 to be able to help, and of course during the week I am at work except during the high tension times of getting ready for work and the evening screamfests we call dinner.
I really wanted to blog about making the cheese this week too! I even told the nice lady at the milk stand that the cheese post would be up mid week. I guess that was a good way of derailing my plans!
I really wanted to blog about making the cheese this week too! I even told the nice lady at the milk stand that the cheese post would be up mid week. I guess that was a good way of derailing my plans!
But another project came along. Our babysitter, knowing of our blog project, said she could teach me how to make yogurt.
Wait.
What?
Don't you need special equipment to make yogurt, like a little heater and a bunch of little cups and a timer or a thermometer? Surely I needed something with an electrical plug. I was so curious. So, she told me how to do it.
How to make yogurt at home (and I swear it works)
What you'll need:
* A very clean pot with a lid, like a dutch oven A couple of clean cotton dish towels
* A very clean pot with a lid, like a dutch oven A couple of clean cotton dish towels
* A half gallon of milk, I used 2% organic low temperature pastuerization milk. I don't know if you need the low temp pasteurization for yogurt, but I know you need it for cheese, so it can't hurt. I know you can also use whole and it makes a richer yogurt.
* 5 tablespoons of already made yogurt. Look for L. Bulgaricus on the container if you can.
* Cheesecloth or really thin towel (we had an old burp cloth that was really thin) (did I mention that everything was really clean?)
So yeah, it's kind of a gyp that you need to buy yogurt to make yogurt, but hey, once you do you'll never have to buy yogurt again! And by the way, all you busy working parents: start this around 6pm and by the time you wake up the next morning, you'll have yogurt.
So pour the milk into the very clean dutch oven and bring the milk up to a low boil. I used milk from my dear dairy in Ghent, NY that I buy from, Milk Thistle. They are a certified organic farm making milk and the most ridiculous cream from grass fed cows. They sell at the farmer's markets here in New York City and I have also seen their milk at the Whole Foods in Union Square. Check out their website here. Turn the milk off and let it cool to the point that it is warm, but not hot. So let it cool for 20 minutes or so. You don't want the milk so hot that it kills the yogurt bacteria.
* 5 tablespoons of already made yogurt. Look for L. Bulgaricus on the container if you can.
* Cheesecloth or really thin towel (we had an old burp cloth that was really thin) (did I mention that everything was really clean?)
So yeah, it's kind of a gyp that you need to buy yogurt to make yogurt, but hey, once you do you'll never have to buy yogurt again! And by the way, all you busy working parents: start this around 6pm and by the time you wake up the next morning, you'll have yogurt.
So pour the milk into the very clean dutch oven and bring the milk up to a low boil. I used milk from my dear dairy in Ghent, NY that I buy from, Milk Thistle. They are a certified organic farm making milk and the most ridiculous cream from grass fed cows. They sell at the farmer's markets here in New York City and I have also seen their milk at the Whole Foods in Union Square. Check out their website here. Turn the milk off and let it cool to the point that it is warm, but not hot. So let it cool for 20 minutes or so. You don't want the milk so hot that it kills the yogurt bacteria.
Next take a little warm milk and add it to your 5 tablespoons of yogurt and get that nice and thin. Add the thinned down yogurt one tablespoon at a time into the milk, stirring it in thoroughly in between each tablespoon. When all the yogurt is incorporated into the warm milk, place a clean cloth over the pot and place the lid on top of it. And though I am not sure why I was instructed to do so, place another cloth around the dutch oven, like you would do to a child who's just gotten out of the bath.
Then, let it sit on the counter for 10-12 hours.
That's right. I said let a container of milk sit on the counter for 10-12 hours.
Well, I did all of the above and low and behold, when I woke up the next morning I had a big pot of yogurt. I half expected to open the dutch oven and have the milk smell sour and foul. But much to my amazement, it smelled sweet and yogurty! Our babysitter helped us do one more step, she took the yogurt and wrapped it in an old thin burp cloth that is just a little thicker than cheesecloth. She let the yogurt strain in the cloth pouch for a few hours and it became as thick as greek yogurt. You could use a heavier cloth to strain it and really get all the water out and you would have a delicious spread that resembles cream cheese.
A half gallon of yogurt made what looks like more than a quart of fresh yogurt once we got it down to the thick greek stage. It was pretty sour, so if you like it less tart, only let it sit on the counter for 6-8 hours and maybe let it remain thin rather than strain it, since taking the more of the water out will only serve to concentrate the flavors. We like it sour, so we are happy. It would even be a good replacement for sour cream, which we hardly ever buy anymore because I have just been using yogurt.
I am so psyched to demystify something as complex as yogurt. In our culture today, we have been taught to be afraid of germs, and that the only safe way to prepare delicate food items is in a sterilized industrial kitchen setting. But my yogurt is far more delicious than any I have bought. I know where the cows that made that milk live (the address is on the jug), I know what they ate. To be honest, I pay a hefty fee for my milk, $7 a half gallon. Which makes my organic yogurt more expensive than the one I usually buy. But it is slightly less than a container of greek style yogurt, which is not organic. But I pay the extra because I love this milk. I love the people who make it and sell it to me. And it is the most delicious milk in the world. It's quality is unparalleled. It has a value to me far and above the $7 that I paid for it. Now I know that not everyone can afford $14 a gallon milk, and to be sure I cut back in other ways to afford it because it's important to me. But there are some great local options and some great affordable organic options out there and I bet if you dig around on the internet you can find some in your area too.
Post script:
We ate the yogurt. It was good and no one got sick. Try it, you just might like it.
Urinary Incontinence
Urinary incontinence (U.I.) is an involuntary loss of urine.
Most often caused by weaken pelvic floor muscles (vagina, urethra, and anus), mild incontinence can be controlled, even cured by daily frequent Kegel exercises.
Kegel exercises, done discreetly, consist of a continual contraction and relaxation of the pelvic floor muscles, which over a very short amount of time, will markedly improve the tone and strength of these muscles.
Finding these muscles is easy, the next time you urinate, stop the flow; those are your target muscles. However, it is important that you never do Kegel exercises while urinating, as you do not want to interfere with this important process.
Kegel Exercise:
Goal: To do ten repetitions every hour or about ten times per day.
1. Focus on the pelvic muscles – tighten and hold for a count of three seconds.
2. Once you can comfortably hold for three seconds, increase the hold to a count of five seconds.
3. Once you can successful hold for a count of five seconds, and do the repititions ten times or greater per day, it is time to move onto the advanced Kegel exercise.
Elevator Kegel Exercise:
Goal: To do ten repetitions every hours or about ten times per day.
Elevator Kegel exercises is a process that helps to strengthen the muscles higher up in the urogenital area. The initial hold is at the opening to the vagina, with a gradual tightening of the muscles higher up the urethra,and the bladder neck, respectively.
1. Focus on the muscles of the vaginal/urethral opening and hold for a count of three seconds.
2. Without relaxing, try to tighten a little bit higher, past the opening, and hold for a count of three seconds.
3. Without relaxing, continue to tighten even higher towards the bladder neck, and hold for a count of three seconds.
4. Once you can successfully complete this three-tier process, gradually increase to a hold and count of five seconds.
Kegel exercises are not just a means of treating urinary incontinence. Over a short amount of time you will notice heighten vaginal sensations leading to more pleasurable sex.
Most often caused by weaken pelvic floor muscles (vagina, urethra, and anus), mild incontinence can be controlled, even cured by daily frequent Kegel exercises.
Kegel exercises, done discreetly, consist of a continual contraction and relaxation of the pelvic floor muscles, which over a very short amount of time, will markedly improve the tone and strength of these muscles.
Finding these muscles is easy, the next time you urinate, stop the flow; those are your target muscles. However, it is important that you never do Kegel exercises while urinating, as you do not want to interfere with this important process.
Kegel Exercise:
Goal: To do ten repetitions every hour or about ten times per day.
1. Focus on the pelvic muscles – tighten and hold for a count of three seconds.
2. Once you can comfortably hold for three seconds, increase the hold to a count of five seconds.
3. Once you can successful hold for a count of five seconds, and do the repititions ten times or greater per day, it is time to move onto the advanced Kegel exercise.
Elevator Kegel Exercise:
Goal: To do ten repetitions every hours or about ten times per day.
Elevator Kegel exercises is a process that helps to strengthen the muscles higher up in the urogenital area. The initial hold is at the opening to the vagina, with a gradual tightening of the muscles higher up the urethra,and the bladder neck, respectively.
1. Focus on the muscles of the vaginal/urethral opening and hold for a count of three seconds.
2. Without relaxing, try to tighten a little bit higher, past the opening, and hold for a count of three seconds.
3. Without relaxing, continue to tighten even higher towards the bladder neck, and hold for a count of three seconds.
4. Once you can successfully complete this three-tier process, gradually increase to a hold and count of five seconds.
Kegel exercises are not just a means of treating urinary incontinence. Over a short amount of time you will notice heighten vaginal sensations leading to more pleasurable sex.
4 Juni 2010
She can make paralyzed people walk
This morning when I woke up, I can hardly rise. I seem to have some twisted nerve which gave me an excruciating pain when moving. Yesterday I knew I needed a back massage because of poor posture working on some stuff for days in front of the computer.

I panicked since I had to slide down my bed just to be able to get up. I tried calling Gina Lee, a college classmate who lives in the same village and an expert accupuncturist. She ran to me when my I came from the ER the other month due to a spiked blood pressure. Since I couldnt reach her at once I tried texting another doctor schoolmate whose line is rehab but I guess he had patients and was not able to reply.
I asked my helper to buy me some Feldene, a medication which I took several years back when I had a sprain. For quite awhile I try to stay out of drugs. When my helper came back the drug store said they could not understand what I wrote. Perhaps it was a blessing because when I googled the medicine it said it may have side effects on the digestive tract and kidneys.
After I took a quick lunch (hard to really eat when you are in pain), I received a text from Gina that she is coming over to the house.
When Gina arrived, she started putting some needles on my head. She told me that is her '911' solution. She stayed till early evening and during those hours we talked about so many things including the many stroke patients and wheel-chair bound people she had helped to walk in just a months time.
Both Gina and I had a calling on natural healing. Gina's came earlier though. I realized mine after my dad passed away. Gina studied on her own and trained with the world's experts from Nanjing, China to the US and down under in Australia. She chose to be hands on and treat people. I just studied so I can heal myself and recommend to other people who are all being victimized by drugs and some western medicine practices.
She is also a Reiki master and studied other modalities such as Dorn Theraphy, Tuina, Pranic healing and many others. In Nanjing, she studied with a master who asked her to promise not to reveal his protocols till he passed away. She specializes in the field of ortho so she was really able to make many wheel chair bound people walk.
However she warns that the patients must be willing to get well and throw away emotional issues which usually are the source of many illnesses.
She had a patient who she later discovered did not really want to walk because he is able to get what he wants when he is tied to the wheelchair.
On another occasion, she had a patient who did not want to talk at all. She then tried to find out what was wrong with him. She worked on her needles for about two weeks then all of a sudden he spoke! Then he sang! Everyone in her clinic rushed to them due to amazement. The patient's companion said he used to sing in the church choir. He sang happy birthday because it was Gina's natal day then. She cried with joy. Later she found out, the problem was he really could not talk before. It was not because he didnt like to talk but he lost his voice. She continued to treat him till he was completely healed.
Some friends are prodding her to write a book. I encouraged her to and I think I will continue to prod her for she has much to share.
As I am writing this post, I can now freely move. There is still some pinch when I turn the wrong way but she told me not to remove the needles till tomorrow afternoon when hopefully the pain will be gone.
I also hope to organize a Reiki class soon. We kept talking about it but some stuff always get in the way. She combines the two Reiki classes into one day so that she can be assured that her students can really practice this healing method.
Below is my photo with Gina Lee a day after my birthday. She treated me then at the new Hap Chang branch inside our village in Paranaque. For those who knew her in college, they will notice that her face has not changed much. It is only the additional fats way below which may be different. She might kill me for posting this photo but its done :)

Watermelon Sorbet
 Let me start off by saying that I cleared this post with DH before even starting it. My blog is not an opportunity to bash my hubs in any way, he is such a great guy and a great father. So before you get the impression that I am just pointing fingers or being judgemental, I did make sure he was cool with this before I put it out on the internet. In fact, one could say he did a good thing by sparking my interest in the right direction!
The other day I asked DH to pick up some tortillas on the way home (mmmm, that was a good taco night). He texted me 'did you buy ice cream this week' and I said no. I think my husband is made of about 50% ice cream. I wasn't shocked by his text, he loves ice cream. I figured he would bring home some Breyer's. When I got home he was talking to Thing 1 about the awesome treat he got at the store: watermelon italian ice!! Whoa, that is a super special treat for Thing 1. After dinner he usually gets fruit, because who wants a two year old bouncing off the wall on a sugar high at bedtime. I am way more down with ice cream or sugar at 3pm than 8pm.
So after a somewhat pleasant dinner, DH got out the individually packaged watermelon ice and gave it to Thing 1. Of course Thing 1 loved it. My hubby has many fond memories of eating italian ice in the summertime on Long Island and wants to have our children to share the same great memories. Then he asked me to try it.
It was seriously gross. And I am not just channeling my mother here, whose hatred of watermelon bubble gum was legendary. It was pure sugar, I didn't even hardly taste the watermelon flavor. And it had this syrupy consistency like something you couldn't quite get off the roof of your mouth. Then it hit me, it was grainy at the end and finished with an overwhelming freezer burn flavor. These things had probably been sitting in the store's freezer unit for 6 months or more. I looked at the ingredients, water, sugar, corn syrup, cellulose gum, soy protein, red food coloring, etc. If there ever was an imitation food, here it was. There was nothing that was at all real about this food. I told DH that this was exactly the kind of garbage I was trying to keep out of our kitchen by writing this blog. He tasted it and agreed it was pretty bad, but then laughed and said he had done me favor because he created a situation for me to write about.
Now cellulose gum sounds like a normal food additive to me. There are gums everywhere, guar gum, locust bean gum, etc. Cellulose gum is slightly different in that it is in no way or shape a food item. I repeat: some gums, like guar gum, are made from food, cellulose gum is not made from food.
From Wikipedia I found the following:
"CMC [cellulose gum] is used in food science as a viscosity modifier or thickener, and to stabilize emulsions in various products including ice cream....It is used primarily because it has high viscosity, is non-toxic, and is non-allergenic."
Wikipedia also mentions that cellulose gum is used in everything from KY jelly to toothpaste, laxatives and diet pills to water based paints. This stuff is not food. I couldn't find a lot of sites that said what it was made from, though Yahoo 'Answers' had some guy saying that it was made from wood pulp and cotton. I find that Yahoo 'Answers' does not always have the most reliable information though so I am not going to stand here and tell you that that is a fact. But I have a strong feeling that this stuff is not derived from a food source. Undoubtedly though, this cellulose gum was responsible for giving the ice that sticky feeling on the roof of my mouth. That, and the corn syrup I am sure.
I told DH to come home with some real fresh watermelon the next night and we'd see if we couldn't make something better.
Watermelon Ice or Watermelon Sorbet
4 cups chunked, de-seeded watermelon (I didn't really measure, I just took a quarter of a watermelon and cut as much as would fit into the blender)
1/4 cup sugar (or more if you really want it sweet or none if you like it the way it is)
Place your de-seeded fruit in a blender. Puree a little bit to get it going and then add your sugar. Blend until mixed. Pour the mix into a ready frozen ice cream maker and follow your machine's directions.
I have a Cuisinart Ice Cream Maker that is worth every penny. A lot of websites are selling the same one now for $50 so go out and get it! It is a kitchen gadget that can't be substituted by anything else.
So we made the 'watermelon ice cream' and it was a huge hit. I asked Thing 1 which one he liked better, the ice he had the night before? Or the one I had just made, and he said "this one". Now he is not yet three, so I am sure he would always prefer the real one on his spoon to the one in his memory. But even still, I'll take it.
Notes:
Carboxymethyl Cellulose. Wikipedia, The Free Encyclopedia. 2 June, 2010.
3 Juni 2010
Snugar Peas

This last weekend at the farmer's market it was as if the whole earth exploded vegetables! I have been waiting for this week. From just before the beginning of this project we have been going to the farmer's market every week and it has been a difficult thing to get everything that we need! But last week we saw the first week of the various stalls being flooded with items. I knew it would happen, but I wasn't sure when.
We saw the old standards, apples and potatoes, all the milk and meats, but this week there were new things! Kohlrabi and big bunches of adult spinach, and sugar snap peas!
I bought a big bag of sugar snap peas, they were so cute with their little hats on one side and their curly-Q tails on the other. Their peas were little, but their pods were big and fat and the folks told me the whole thing was edible.
I put some into our mix of baby soup this week (big success) and Thing 1 was curious enough to eat one raw. He only took one bite, but he told me they were good, and frankly I was thrilled to see that he tried them so easily these would make a great raw snack. They taste even sweeter than carrots!. When first showed them to Thing 1, he asked what they were. I told him they were 'sugar snap peas' and he called them 'snugar peas' for the rest of the morning. I am not sure I will ever call them anything else for the rest of my life.
I plan on using the rest tonight with a pound of salmon I bought. I will put a soy/ honey glaze on the salmon and broil it; and the peas will get a quick blanche before getting a simple dressing of sesame oil. I can't wait. Talk about an easy meal! There is an amazing almost no prep meal. I will put this fish into marinate in the glaze in the morning so I can throw it under the broiler when I get home. I'll reheat some already made brown rice, and then boil the peas. The whole thing will be healthy and balanced and take no time at all. Sweet.
We saw the old standards, apples and potatoes, all the milk and meats, but this week there were new things! Kohlrabi and big bunches of adult spinach, and sugar snap peas!
I bought a big bag of sugar snap peas, they were so cute with their little hats on one side and their curly-Q tails on the other. Their peas were little, but their pods were big and fat and the folks told me the whole thing was edible.
I put some into our mix of baby soup this week (big success) and Thing 1 was curious enough to eat one raw. He only took one bite, but he told me they were good, and frankly I was thrilled to see that he tried them so easily these would make a great raw snack. They taste even sweeter than carrots!. When first showed them to Thing 1, he asked what they were. I told him they were 'sugar snap peas' and he called them 'snugar peas' for the rest of the morning. I am not sure I will ever call them anything else for the rest of my life.
I plan on using the rest tonight with a pound of salmon I bought. I will put a soy/ honey glaze on the salmon and broil it; and the peas will get a quick blanche before getting a simple dressing of sesame oil. I can't wait. Talk about an easy meal! There is an amazing almost no prep meal. I will put this fish into marinate in the glaze in the morning so I can throw it under the broiler when I get home. I'll reheat some already made brown rice, and then boil the peas. The whole thing will be healthy and balanced and take no time at all. Sweet.
Langganan:
Postingan (Atom)
LinkWithin
